
1. Decide between a splice, an insert and section replacement
A branch strike that breaks one otherwise sound strand is a different repair from wire that has rusted thin along the run. Start at the break and inspect outwards. Look at the wire beside each barb, old bends, post fixings and earlier splices. Also check whether the end post has moved. Pulling a new joint tight against a failed brace will not restore the boundary.
| What you find | Repair to assess | Why |
|---|---|---|
| One clean break; sound ends still reach | A compatible in-line splice | Retains the existing strand without an unnecessary second joint |
| Missing wire or ends too short after trimming | Matching insert with a splice at each end | Bridges the gap without over-pulling the remaining wire |
| Corrosion, repeated fractures or several old patches | Replace the affected length back to sound material | A new connector cannot restore metal already lost |
| Leaning end post, loose brace or displaced anchor | Repair the support before tensioning | The support must carry the repaired run |
Move stock to a secure enclosure while the boundary is open. Several broken strands, uncertain loads or damaged anchors need an experienced fencing installer. For the cost decision across a long run, use our repair-or-replace guide.
2. Match the joining method to the wire
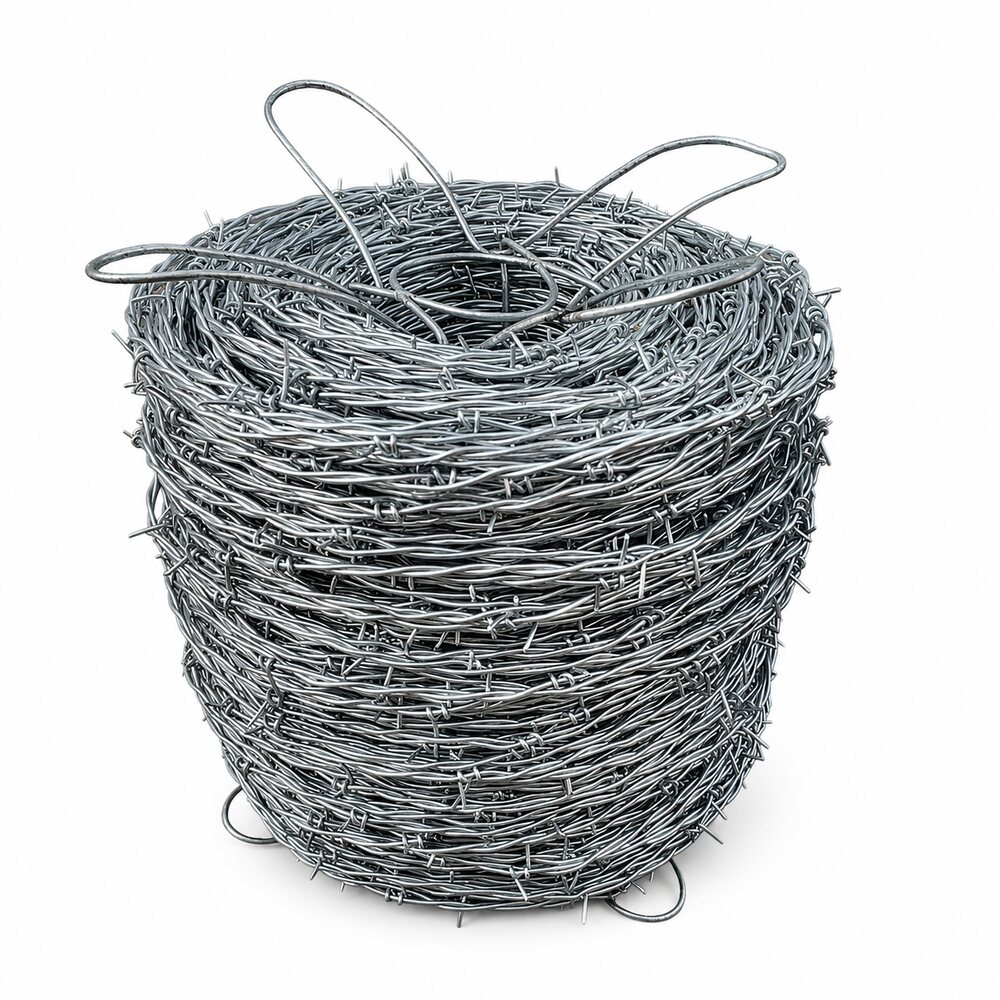
A barbed strand has two twisted line wires plus separate barbs. A connector must accept that construction, not merely a similar-looking smooth wire diameter. Read the old coil label or identify a sound sample: low-carbon or high-tensile steel, actual strand diameters, gauge system and coating. Two-point versus four-point describes the barbs; it does not identify the correct splice by itself.
| Joining method | Use it when | Required check |
|---|---|---|
| Mechanical barbed-wire joiner | The exact model accepts the strand construction and steel grade | Wire range, entry preparation and insertion instructions |
| Compression sleeve | The sleeve specification covers that wire | Sleeve code, die, crimp positions and tool must match |
| Twisted or knotted splice | The wire supplier approves that specific joint for the material | A mild-steel repair method is not automatic approval for high-tensile wire |
The US Forest Service handbook, printed page 7, describes sleeves selected by wire type, gauge and tensile strength. That supports matched parts, not a universal sleeve or crimp count. Its 1990 tables should not replace the current connector instructions.
3. Prepare the repair kit before opening the strand
Have leather gloves, eye protection, wire-rated cutters, fencing pliers, a rated straining device, the chosen connectors and replacement wire ready. Add the specified crimping tool if using sleeves. A stretcher temporarily holds the load; the splice is the permanent connection. Ordinary gripping pliers do not replace a sleeve's required crimping die.
Mark the damaged length before measuring an insert. Allow for the wire each connection consumes. Do not cut an insert to the visible gap alone, or copy a fixed overlap from a different joint. Read how to select cutters and make the cut if the wire grade is uncertain.
4. Repair the broken strand in a controlled sequence
- Take the load before cutting. Secure the run with suitable straining equipment and control stored tension. Keep people clear of the wire ends and pull line.
- Remove damaged material. Once the load is controlled, cut back to sound wire. Keep the removed piece as a material reference, not as proof that the adjacent wire is sound.
- Check whether the ends reach. If they cannot meet with enough usable wire for the chosen joint, add an insert. Do not increase the pull just to close the gap.
- Make each permanent connection. Prepare and insert the wire as required by that connector, or complete the specified sleeve crimps. Finish both ends of an insert before transferring load to it.
- Transfer load gradually. Watch the joints and supports as the strainer is released. Stop if wire slips, a brace moves or a new fracture appears.
This order follows the load-control principle in TCV's strained-wire repair guidance. It is the important step missing from many short cut-and-twist instructions.
5. A specific connector example: Gripple Barbed
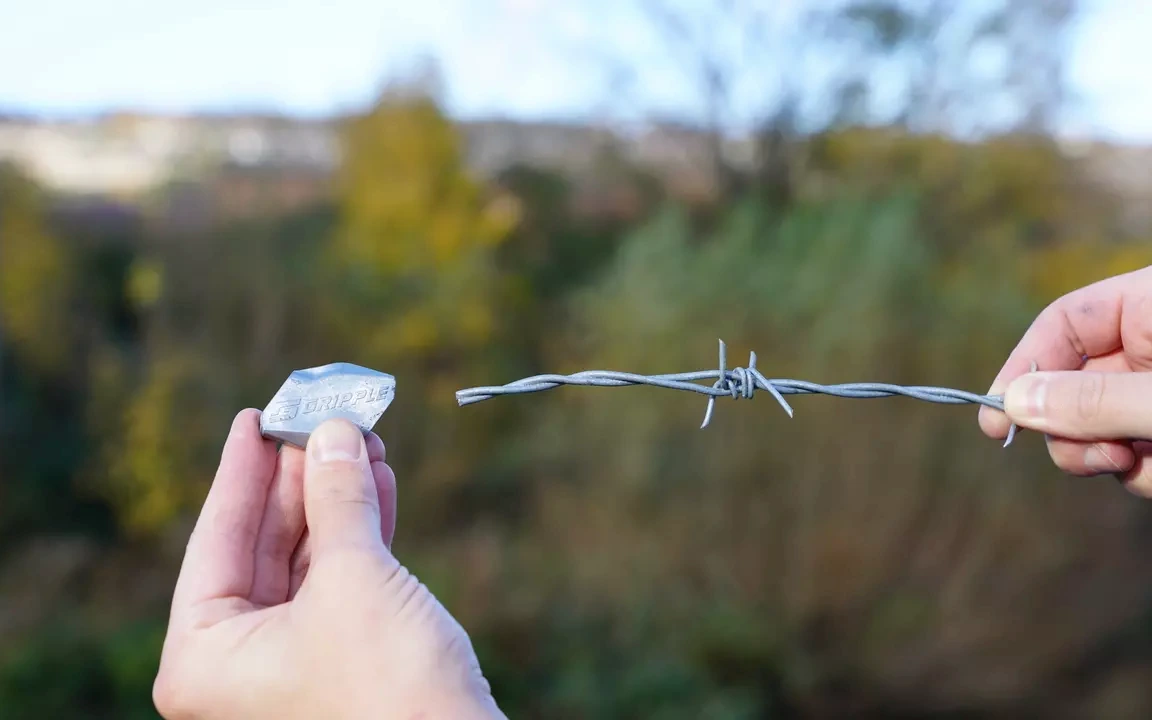
Gripple's US Barbed range separates a 12.5-gauge mild-steel version from a high-tensile version listed for 15–14.5 gauge. Its published method prepares a tightly wound end at a barb with at least 3 in of wire, inserts it until the joiner meets the barb, then repeats at the other end before tensioning from the end post.
That is a useful model-specific example, not a preparation length for every connector. In particular, do not assume a nominal 15.5-gauge KUNYU strand fits a model whose displayed range differs. Confirm the actual wire and current connector data. Connector load ratings are not instructions to pull the fence to that force.
6. Check the result and count the repair materials
After removing the tools, inspect strand height, post attachments, exposed tails and each new joint. The repaired section should not pull its supports out of line. Remove offcuts before returning animals. The UGA maintenance guidance also calls for repairing weak anchors, refastening loose wires and maintaining an inspection routine.
For an example repair with three 12 ft inserts, the net replacement length is 36 ft plus the chosen joint allowances. Each insert has two ends, so there are six splice locations. The 12 ft length is an example, not a repair standard. Count connectors by the approved joint design; do not confuse locations with sleeve pieces.
For replacement stock, KUNYU can review barbed-wire configurations against a sample or specification. Send strand and barb details, steel grade, coating, coil length and quantity. Connector sourcing is confirmed separately; tool brands in this guide are technical examples.
 Woven Wire Fence
 Barbed Wire