
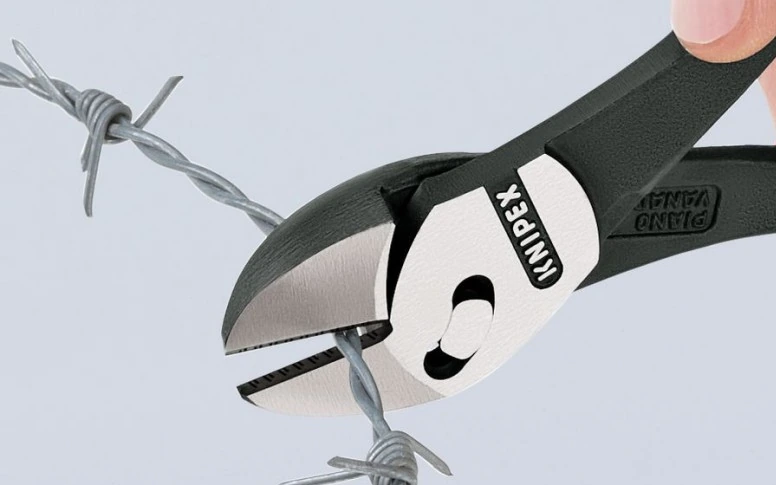
1. Choose the cutter for the material you will actually cut
Chicken wire is thin hexagonal netting. Hardware cloth is welded mesh. High-tensile woven fencing has separate line wires, stays and knot wires. These products may all be sold as fence wire, but their cutting jobs differ. First identify the wire position, actual diameter and steel grade; then check that material against the cutter's rating.
| Your job | Practical starting choice | Selection detail |
|---|---|---|
| A few cuts in thin chicken wire | Wire-rated diagonal cutters | Small jaws give access to individual wires and corners |
| A long straight edge in light netting | Snips explicitly suitable for the wire, or diagonal cutters | Trial a sample; sheet-metal capacity alone is not a steel-wire rating |
| General low-carbon fence repairs | Rated fencing pliers | Useful when cutting, gripping and removing fixings in the same job |
| High-tensile line wire or barbed strand | Hard-wire cutters or compact bolt cutters with the correct rating | Read hardness-specific capacity and strand-construction limits |
| Heavy welded panels | Appropriately rated compound or bolt cutters | Check jaw clearance as well as wire diameter |
For occasional netting cuts, control and access matter more than a very long handle. For repeated hard-wire cuts, a dedicated cutter avoids using a multipurpose tool at the edge of its capacity. A large tool that cannot reach the selected wire is no improvement.
2. Read real tool ratings, not just the tool name
The KNIPEX CoBolt 71 02 200 provides a clear example of separate limits:
| Wire category in the manufacturer's data | Maximum diameter for this tool |
|---|---|
| Soft | 6.0 mm |
| Medium hard | 5.2 mm |
| Hard | 4.0 mm |
| Piano wire | 3.6 mm |
A hypothetical 4.5 mm hard wire exceeds its 4.0 mm hard-wire rating, even though 4.5 mm is below the larger soft-wire figure. This is why choosing by the biggest number on a product page fails. A thinner high-tensile wire still needs its grade mapped to the tool maker's material categories.
The cover photo shows a different tool: KNIPEX TwinForce 73 71 180. Its US page lists 1/8 in for hard wire and 1/8 in for piano wire. Do not apply the CoBolt table to the pictured TwinForce. These are published examples, not a KUNYU tool-stock offer.
3. Check gauge, coating and two-strand construction
A label such as 12.5 gauge does not give the tool supplier all the information needed. State the gauge system and actual steel-wire diameter. For PVC-coated mesh, identify the steel core separately from the outside coated diameter. The coating affects jaw access, while the steel still has to be cut.
For barbed wire, distinguish the two twisted strand wires from the projecting barbs. Do not add two diameters and treat the result as an equivalent solid-wire rating. Jaw shape and the manufacturer's instructions determine how that construction should be cut. Keep the barb clear of the intended cutting position.
For woven wire, check top and bottom wires separately from intermediate line wires. A mixed wire schedule can make one part of the roll harder to cut than another. Never use a cutter's performance on thin knot wire as the trial for a heavier edge wire.
4. Mark the cut for the joint you will make
Measure the finished run between its actual end points, including gates and corners. Then add the wire consumed by the selected splice or termination. The cut position and the finished fence length are not always the same.
For a full-height woven-wire end, locate the last stay and the line-wire tails needed for the joint. Cutting immediately beside a knot may leave too little free wire. Mark the planned position before cutting any horizontal wires. Keep a square cut unless the layout calls for a different edge.
KUNYU model 1348-6-330 has 13 line wires, a 48 in height and a 330 ft net roll length. One full-height cut therefore crosses 13 line wires; five such cut positions mean 65 line-wire cuts, before any separate trimming. This is a workload example, not 65 identical cutting specifications. Confirm each wire position in the roll schedule.
5. Cut supported mesh in a controlled sequence
- Control the load. For an installed tensioned fence, take and release tension with suitable straining equipment before cutting. Do not cut a loaded line to find out how much it will spring back.
- Support the loose material. Work on a stable surface and keep the remaining roll restrained so the mesh cannot curl into your hands.
- Place the jaws correctly. Use the cutting zone specified for that tool. Keep fingers away from the cut path and use gloves and eye protection.
- Cut one accessible wire at a time. Follow the marked line. Do not force a bundle into jaws rated for one wire or twist the tool sideways to finish a stalled cut.
- Secure the finished edge. Collect offcuts and finish exposed tails as required by the attachment detail before moving the mesh.
For tension control, see the woven-wire stretching guide. Joining the new edge is a separate job; the twisting-tool and joiner guide explains the choices.
6. Diagnose a difficult cut before buying a larger tool
| Problem | Check | Action |
|---|---|---|
| Wire flattens but will not sever | Hardness rating, jaw position and edge condition | Stop forcing it; select a rated tool or repair the damaged cutter |
| Mesh bends while cutting | Support and jaw access | Support both sides and cut individual wires on the marked line |
| The edge has no usable tails | Cut position relative to the last stay | Review the termination allowance before making further cuts |
| Hands tire after many cuts | Repeated workload and handle opening | Trial a suitable compound cutter on the actual material |
For a fence-material order, send the woven-wire model, wire schedule, run lengths and intended joint. KUNYU can review matching rolls and material allowances for FCL or LCL supply. Choose specialist cutters with their manufacturer using the same wire details.
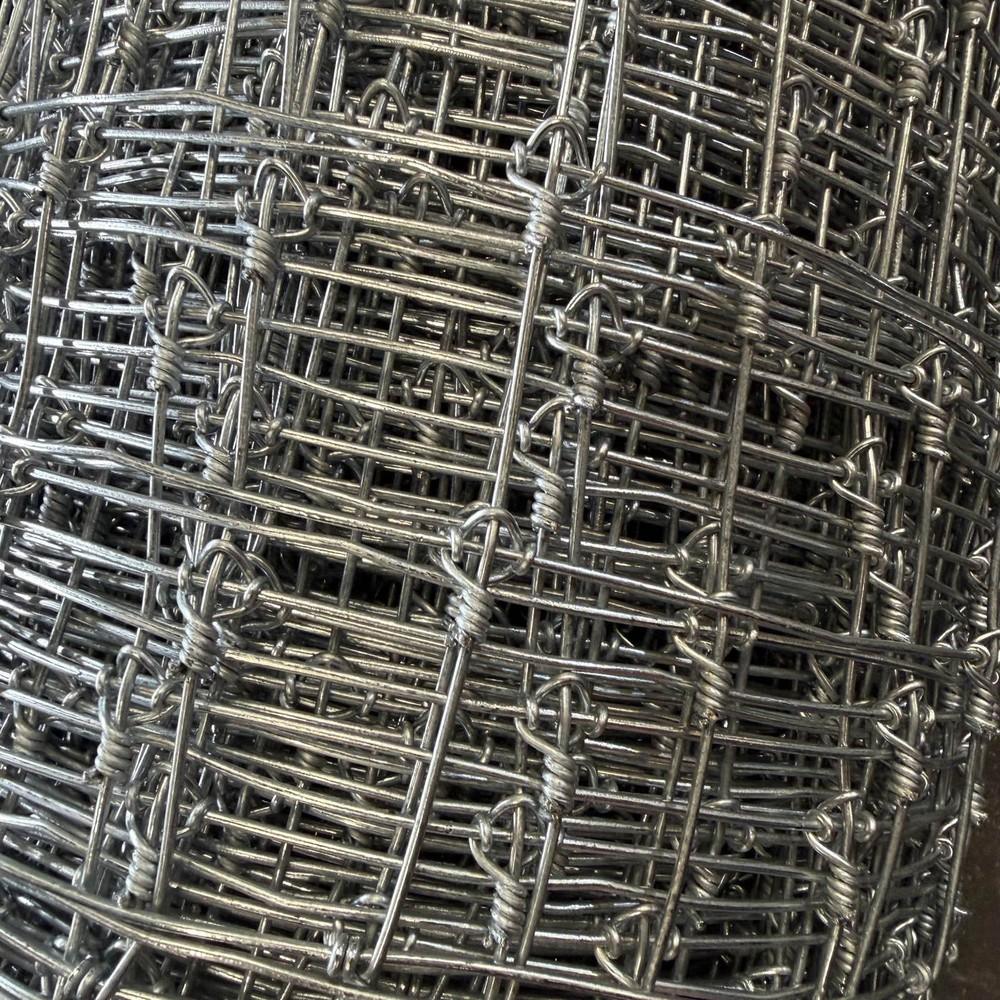 Woven Wire Fence
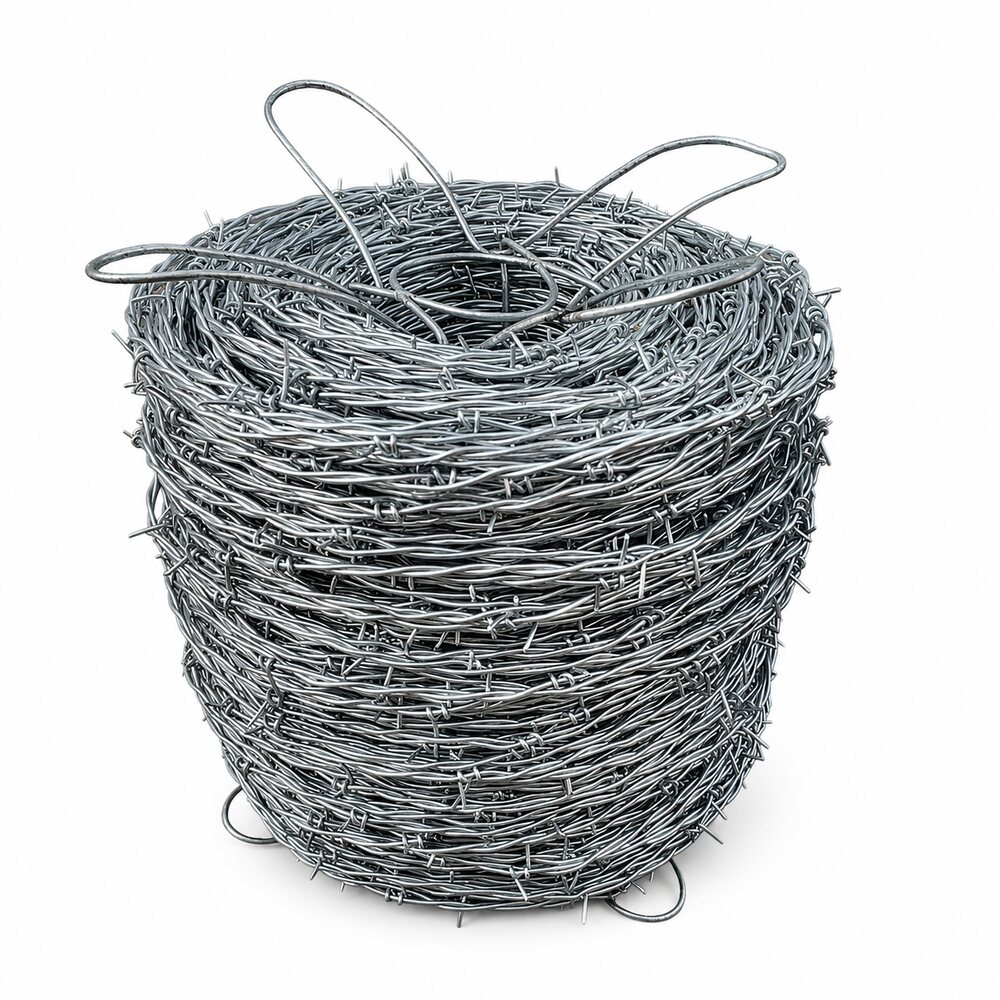 Barbed Wire