
1. Walk the whole run before adjusting tension
Start at an end assembly and follow the fence to its next end, corner or gate. Record where the defect begins and ends. Loose mesh beside a leaning end post needs a different repair from one broken horizontal wire in an otherwise sound run.
UGA's farm-fence maintenance section calls for sound anchor assemblies, refastening loose wire, splicing breaks and a regular inspection routine. It mentions high-tensile tension maintenance once or twice a year. Treat that as a check, not an instruction to add tension regardless of condition.
| Finding | Inspect next | Repair decision |
|---|---|---|
| Several wires sag together | End-post lean, brace movement and slipped terminations | Restore the support or connection before retensioning |
| One strand is broken | Nearby knots, impact damage and sound wire beyond the break | Assess a compatible splice or insert |
| Mesh is tight but the ground gap has grown | Erosion, rutting and lifted lower attachments | Repair the ground or approved base detail; more tension will not replace soil |
| Wire breaks again beside an old repair | Kinks, severe corrosion and connector compatibility | Replace the affected section rather than repeating the same short patch |
| A gate drags or will not latch | Hanging-post movement, hinge wear and ground contact | Correct the cause, then check the closed gaps and latch |
2. Repair a local break in a controlled sequence
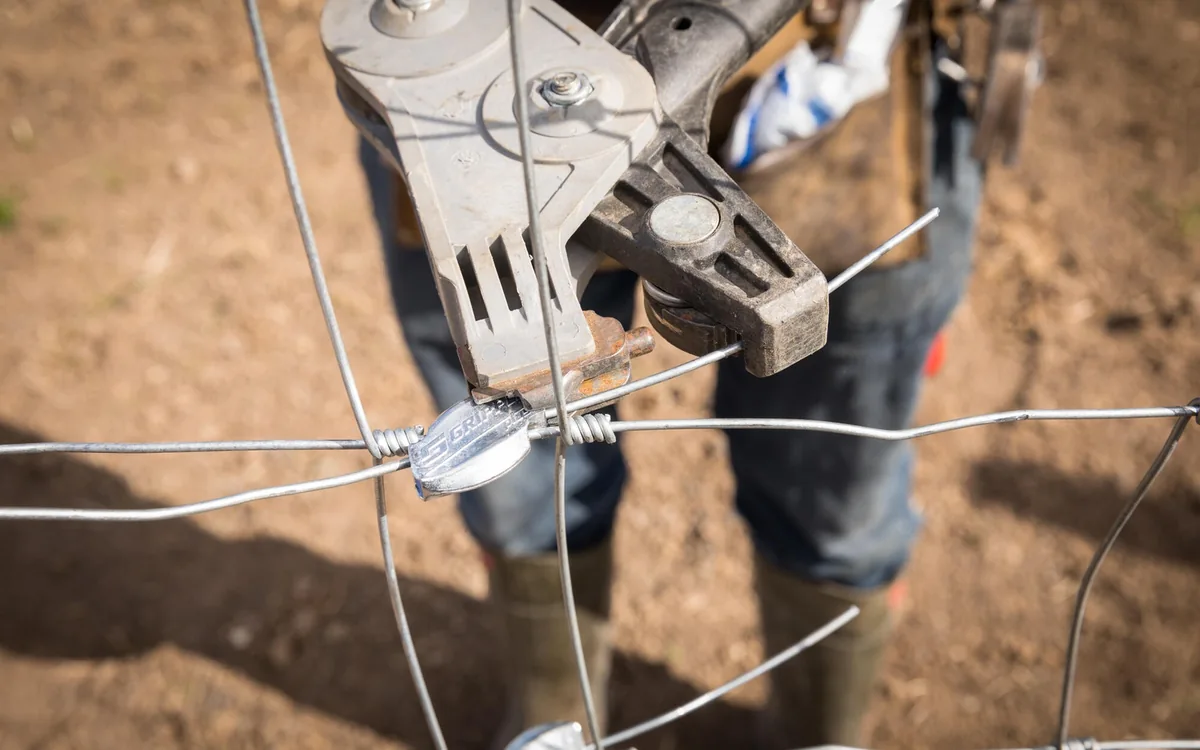
Move livestock away and secure a temporary boundary where needed. Tensioned wire stores energy: do not cut it, undo a termination or operate a connector release while it remains loaded. Use the fence and tool makers' load-control method, with suitable grips and a trained installer for damaged braces or multiple strained wires.
- Identify the original wire. Note knot type, horizontal and stay-wire diameters, coating and opening layout. A post clip holds mesh to a post; it does not splice a broken line wire.
- Control and release the load. Keep people out of the recoil path. Inspect the temporary gripping points and supports before working on the joint.
- Remove the damaged material. Work back to sound wire. Do not pull damaged ends together by distorting adjacent openings.
- Fit the repair. Use a connector or sleeve rated for that wire and its prescribed tool. An insert needs a sound connection at each end and enough tail for the chosen joint and tool.
- Restore and inspect. Apply the system's specified tension gradually, then inspect supports, joints, openings and attachments before removing temporary equipment.
Bekaert's installation FAQ explicitly requires removing tension before releasing an installed Gripple joiner or T-Clip. Its instructions refer to that connector system. Gripple's product guide also separates connector sizes and compatible wire types. Do not choose a repair fitting by its appearance alone.
Example only: replacing a damaged strip across ten horizontal wires creates twenty connection positions. A design using one joiner per position needs twenty joiners; a sleeve method requiring two sleeves at each position needs forty. The gap length alone does not determine insert length because joint and tool tails consume wire.
3. Choose a patch or replacement by condition
A local patch can suit isolated damage with sound adjacent mesh, supports and a clear repair method. Replace a section when several knots have failed, openings remain distorted, corrosion has reduced the wire, or repeated repairs leave no reliable material for the next connection. A taller or thicker patch is not automatically compatible with the old fence.
Clean enough debris to inspect the wire and ground. Look closely where vegetation, manure, wet soil or dissimilar fittings remain in contact. A surface coating repair does not restore lost steel or a cracked strand. Agree any touch-up product with the coating supplier and keep it away from animal contact until its instructions permit use.
4. Set checks around exposure and livestock use
Walk an unused field before turnout. Recheck after storms, fallen limbs, flooding, vehicle contact and reported escapes. During rapid growth, clear vegetation enough to see the lower wires and gates without striking the mesh with machinery. Keep drainage openings visible; a debris-blocked crossing can undermine a sound-looking fence.
Before reopening the field, confirm that gates close and latch, repaired ends cannot injure animals, and the lower edge and openings still match the intended livestock. Photograph the finished repair from the same position as the defect. Leave unresolved faults open on the work record.
5. Keep a useful repair and replacement record
Use the blank maintenance record for run ID, date, defect, likely cause, action, responsible person and next inspection. For example: “North run, post N17: bottom gap enlarged after runoff; ground detail repaired; gate and base rechecked before turnout.” This records the cause and closure, not just “wire tightened.”
For matching KUNYU replacement rolls or fittings, send the original label, complete opening pattern and wire schedule with the required quantities. FCL and LCL packing can be reviewed by item. Keep new-goods batch inspection separate from field maintenance, and use the stretching guide for the full installation task.
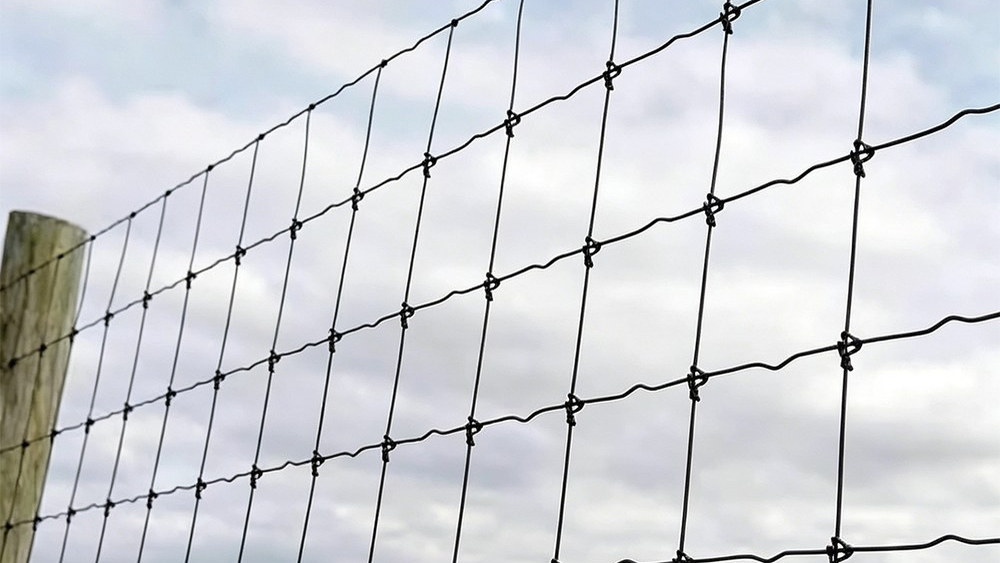 Fixed Knot Fence
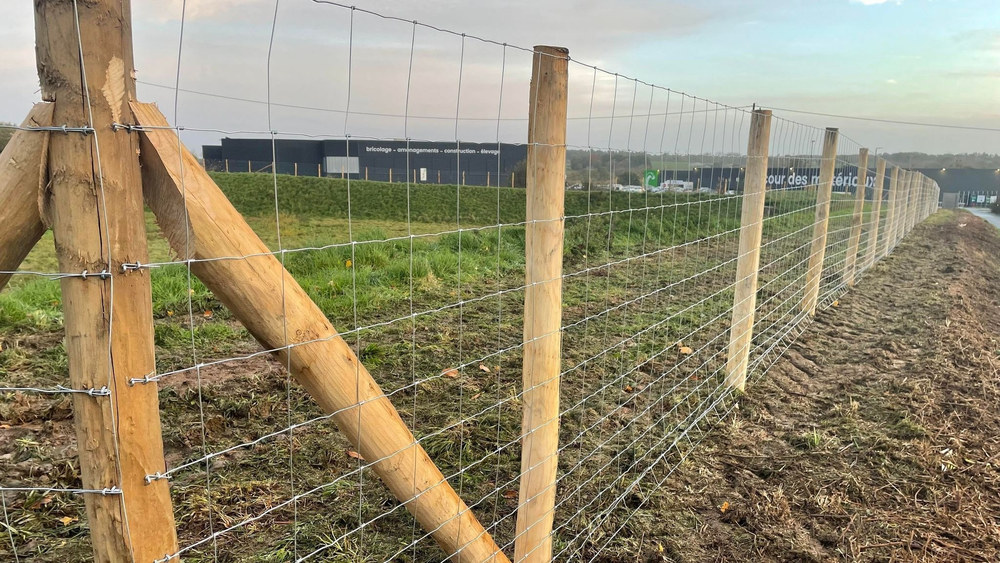 Hinge Joint Fence
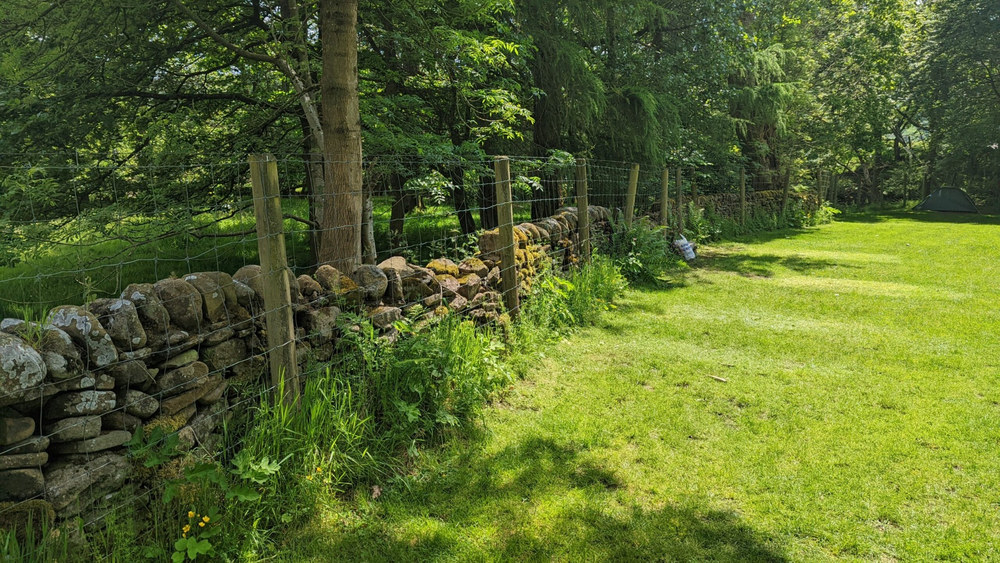 S-Knot Horse Fence