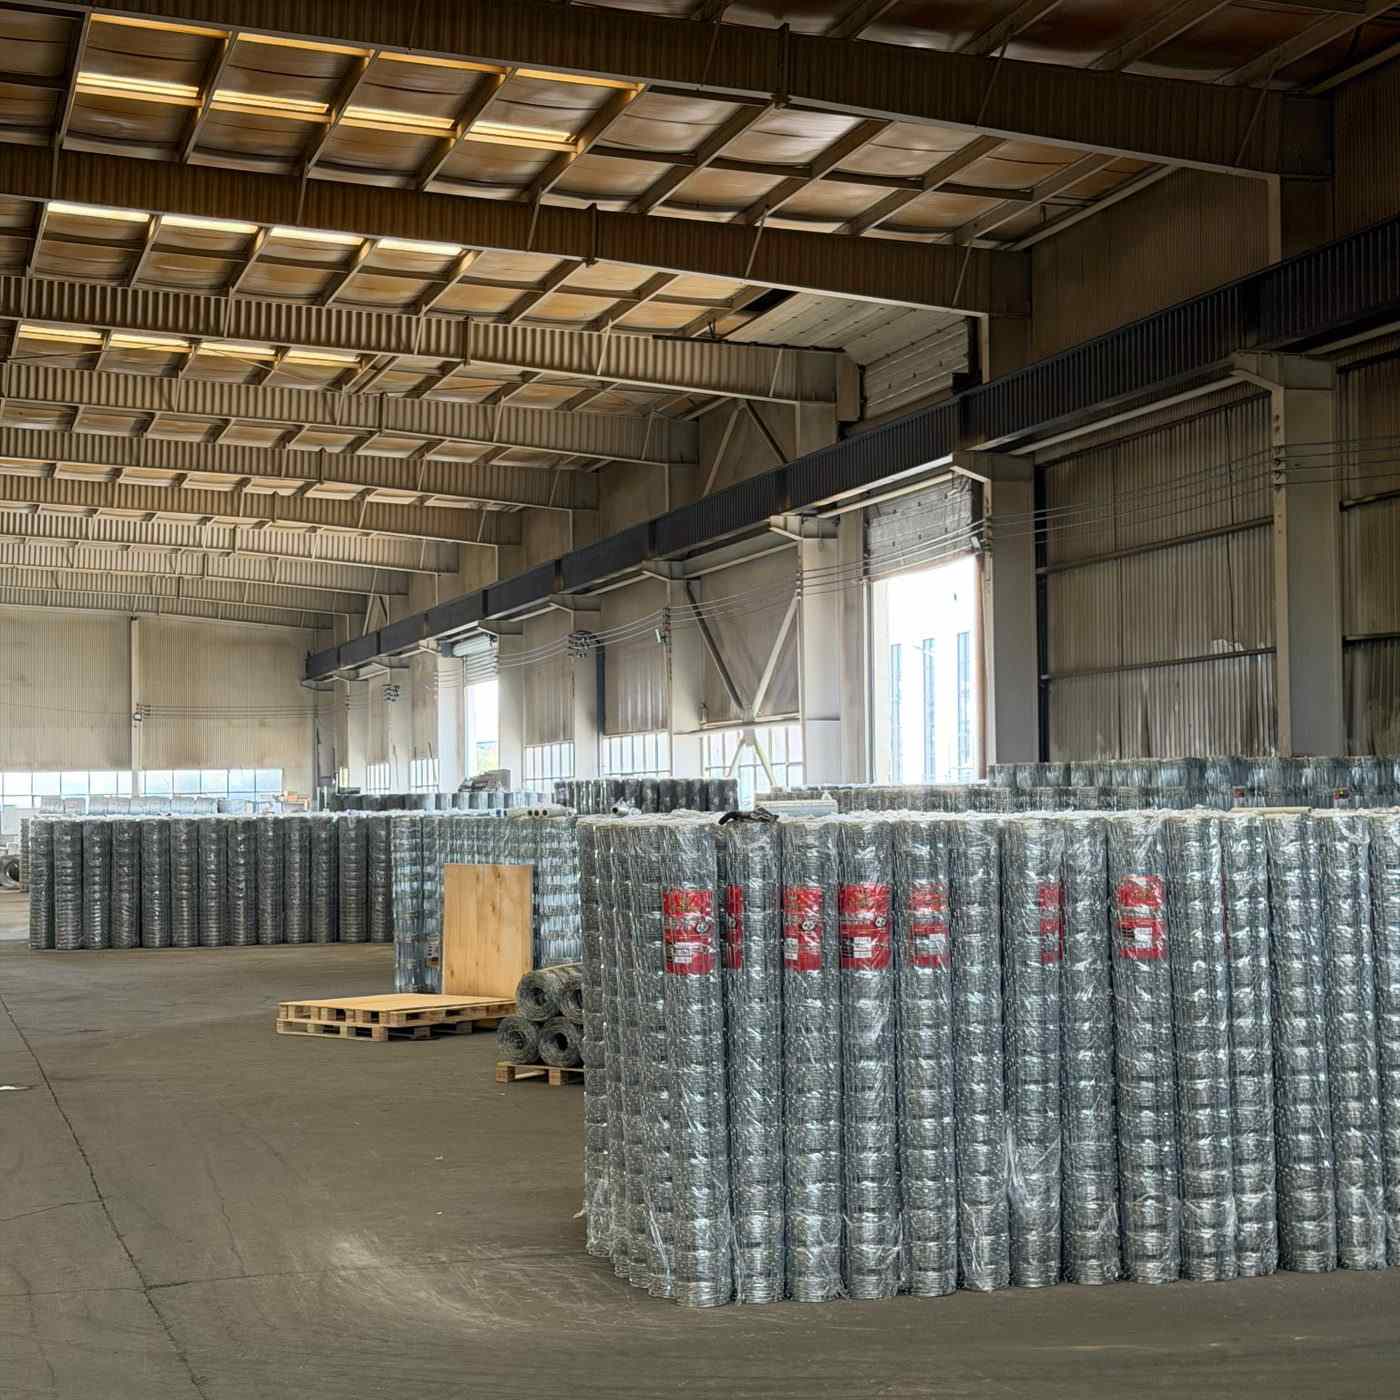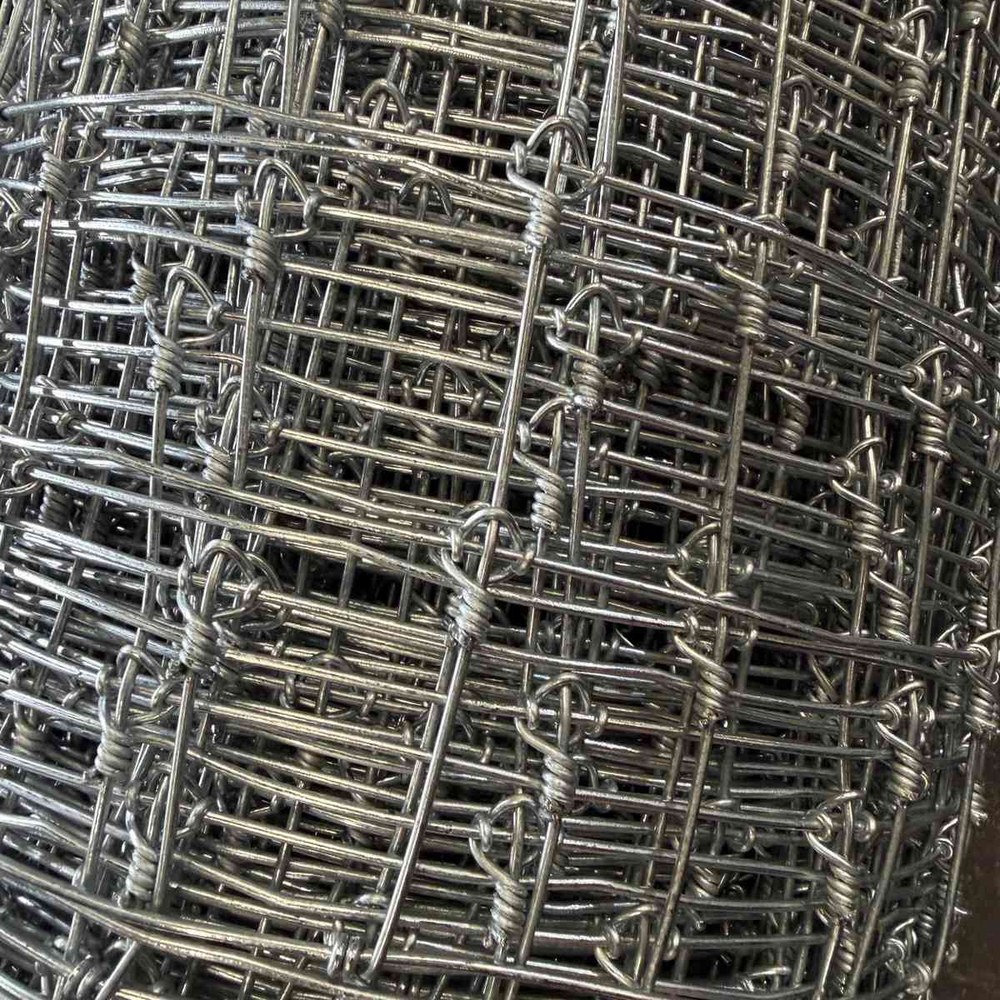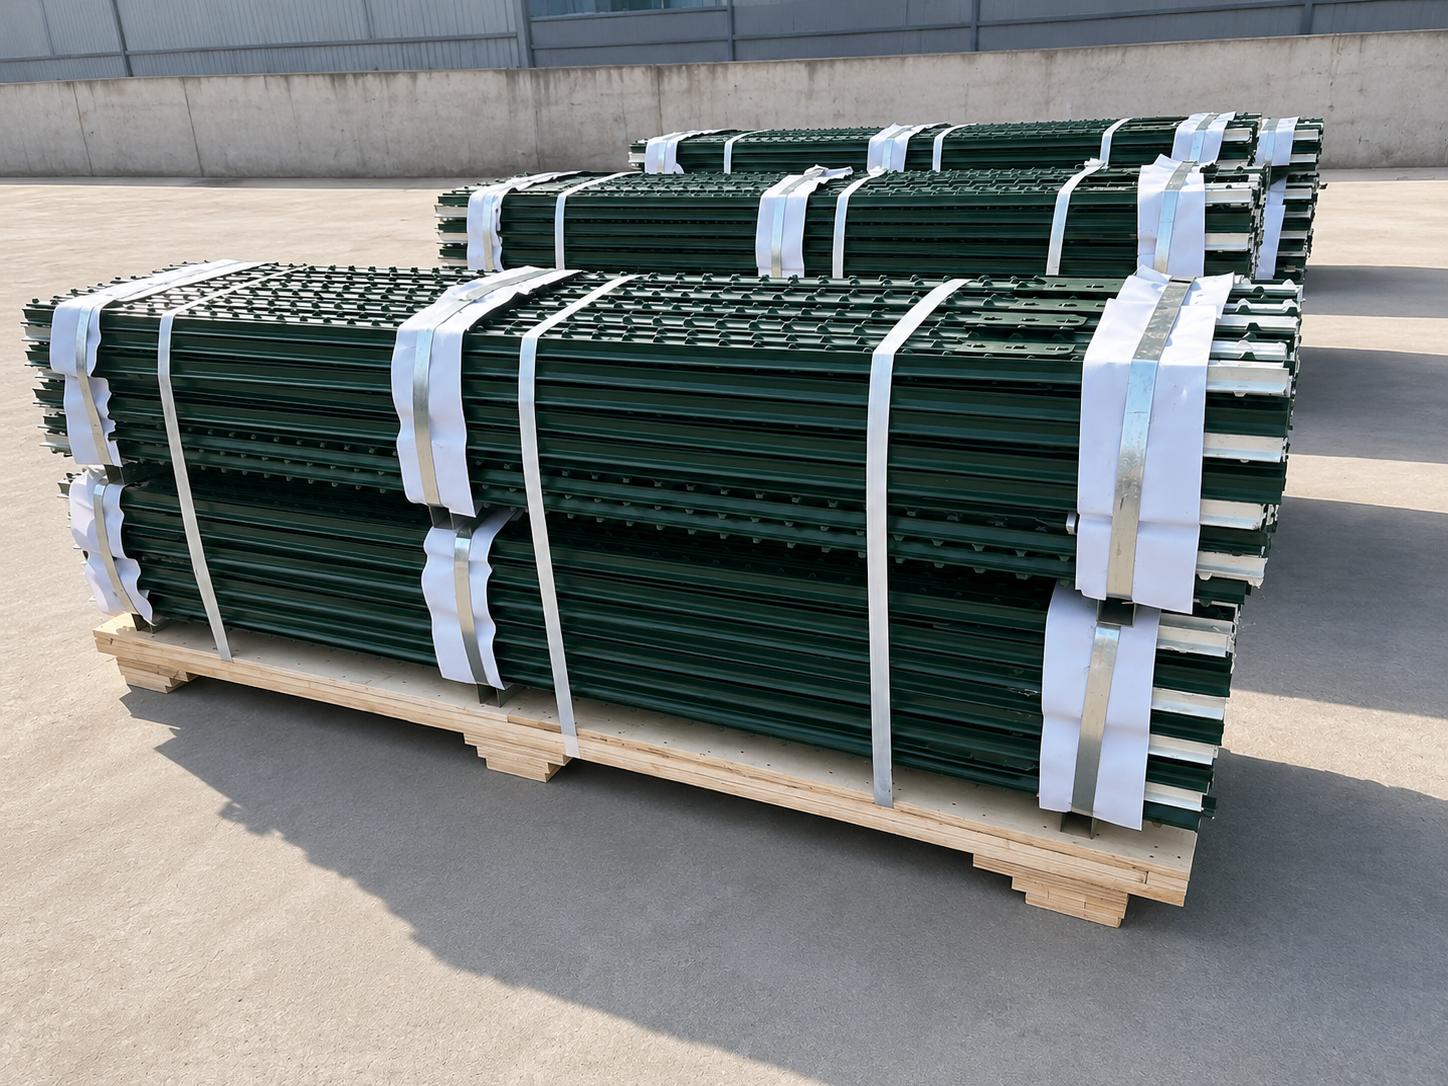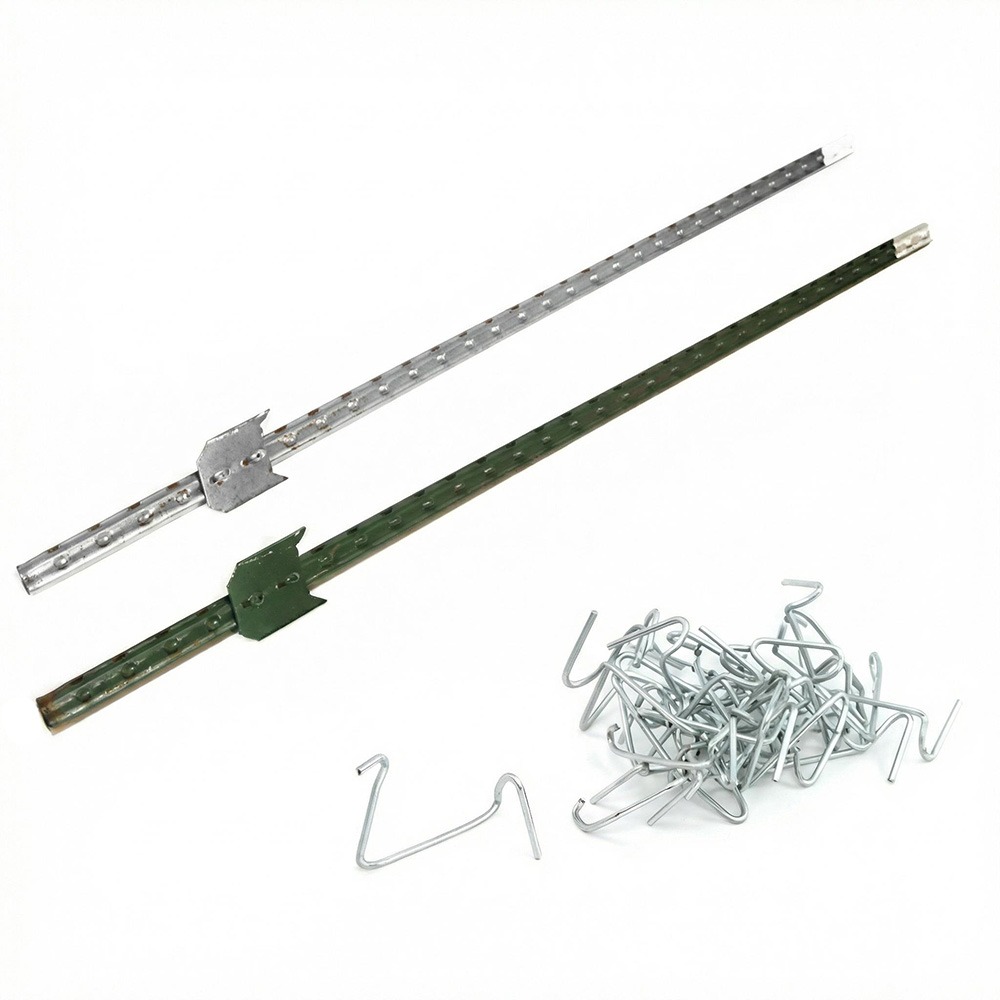
Woven wire field fence — whether hinge joint or fixed knot — follows a similar installation sequence. The exact fence model, wire grade, terrain, soil, animal pressure and approved layout determine the installation details.
1. Tools and Materials Checklist
| Category | Items |
|---|---|
| Fence materials | Field fence rolls, steel T posts, wire clips, wood or pipe corner posts, brace wire or brace rails, staples, optional barbed wire top strand |
| Setting tools | Post driver (manual/hydraulic), post hole digger or auger for corners, tamper |
| Stretching tools | Suitable fence stretcher bar, rated tensioning equipment and approved anchor arrangement used to the equipment instructions |
| Hand tools | Fencing pliers, clip tool, wire cutters, tape measure, string line, level, gloves, eye protection |
Material quantities: a straight 330 ft run divided into 10 ft spans has 33 spans and 34 support positions including its two endpoints. These are not automatically 34 line T posts: deduct positions served by end or brace assemblies, then count the components in those assemblies separately. See the post spacing guide.
What should an importer confirm before ordering the installation package?
Confirm a fence-system layout before buying the rolls and posts. The knot type alone does not determine post spacing. Give the installer or project designer the exact fence model, wire grade, total run lengths, changes in direction, gates, ground conditions, livestock and loading conditions.
For one straight run, divide its length by the proposed maximum spacing and round up to get the number of spans. That run needs one more support position than spans; count shared endpoints, braced assemblies and gates separately when combining runs. For example, a 330 ft straight run with a 10 ft maximum spacing has 33 spans and 34 support positions, including its two endpoints. This is arithmetic for the stated layout, not approval of that spacing for your site.
Compare the hinge joint range and fixed knot range, then send the selected design and installation plan with your request for rolls, posts, clips and braces.
What Should I Confirm Before Installing a 6 ft Fixed Knot Fence?
6 ft means 72 in / 1,828.8 mm of nominal mesh height. A 61 in fence and a 1,900 mm fence are different heights. Confirm the exact model or custom specification rather than substituting the nearest catalogue name.
| Check before ordering | What to confirm |
|---|---|
| Mesh and wire | Height, line-wire layout, stay spacing, roll length, wire diameter, steel grade and coating on one approved specification. |
| Posts and braces | Post length must allow for embedment and the above-ground mesh height. A 6 ft post is not automatically suitable for a 6 ft-high fence. Confirm end, corner, gate and line-post details. |
| Site layout | Give the installer run lengths, slopes, changes of direction, soil and intended animals; obtain the spacing and brace layout for that design. |
| Installation instructions | Obtain the selected model's tensioning, joining, clipping and finishing instructions. Do not transfer a crimp-reduction rule or tension value from another wire product. |
Compare the published fixed knot models and T post dimensions. If a 72 in configuration is required, ask KUNYU to confirm the specification and availability in writing before ordering. Use the first-order checklist to record the agreed documents.
2. Field Fence Post Installation: Support Positions per 330 ft Run
The table compares arithmetic for one straight 330 ft run. It does not recommend a spacing for any animal or wire grade. The installer must approve the maximum spacing for the selected fence and site.
| Proposed maximum spacing | Spans: round up 330 ÷ spacing | Support positions including endpoints |
|---|---|---|
| 8 ft | 42 | 43 |
| 10 ft | 33 | 34 |
| 12 ft | 28 | 29 |
| 15 ft | 22 | 23 |
| 16.5 ft | 20 | 21 |
Formula: support positions = ceiling(run length ÷ maximum spacing) + 1. Work run by run, account for shared endpoints once and separate line posts from braced assemblies. Gates interrupt the mesh length and create additional end details. Review the complete post spacing guide before preparing a bill of materials.
3. Step-by-Step Field Fence Installation
Step 1 — Plan and mark the line. Mark boundaries, ends, corners, gates and changes in slope or direction. Confirm site access and underground services before driving or digging posts.
Step 2 — Set end, corner and gate posts. Use the material, dimensions and embedment specified for the site and fence load. Do not treat a line T post as an end or corner assembly.
Step 3 — Complete the bracing. Build and check the approved brace assemblies before applying fence tension. Confirm connections and any curing requirements with the installer.
Step 4 — Establish the fence line. Use a guide line between the approved support positions. Mark the line-post positions from the installation layout.
Step 5 — Install line posts. Drive posts to the approved depth and orientation. Confirm support or anchoring details at dips, rises and changes in direction.
Step 6 — Unroll the fence. Handle the roll with suitable equipment and protective clothing. Position the mesh on the specified side of the posts and maintain the required ground clearance.
Step 7 — Attach and tension. Use the specified end connection, compatible full-height stretcher and rated equipment. Follow the selected model's tensioning instructions and keep people clear of tensioned wire and equipment. Do not flatten crimps or assume a universal crimp-reduction percentage.
Step 8 — Secure and inspect. Follow the model's clipping, joining and tie-off sequence. Confirm clip count and locations, remove hazardous cut ends, and inspect braces, gates, ground gaps and any additional strands before use.
4. The Five Most Common Installation Mistakes
- Tensioning before bracing: the end assemblies must be ready to carry the specified fence load.
- Using another product's tension rule: follow the selected wire and knot system's instructions.
- Confusing support positions with line T posts: count end, corner and gate assemblies separately.
- Ignoring dips and rises: confirm ground clearance and any hold-down or extra support details.
- Choosing post length by mesh height alone: allow for the approved embedment and top detail.
5. Hinge Joint vs Fixed Knot: Installation Differences
| Item | Hinge joint | Fixed knot |
|---|---|---|
| Post spacing | Confirm model, wire grade and site layout. | Confirm model, wire grade and site layout; knot type alone does not approve wider spacing. |
| Tension and braces | Use the product instructions and design loads. | Use the product instructions and design loads, including the specified high-tensile wire where ordered. |
| Handling and joining | Confirm knot layout and compatible joining method. | Confirm knot layout and compatible joining method. |
| Labor and quantities | Price the approved line posts, braces, joins and clips. | Compare the complete approved bill of materials; do not assume a fixed percentage saving. |
For product selection, see fixed knot vs hinge joint fence and the hinge joint size guide.
6. Choose the Right Field Fence Model Before Installation
North American hinge-joint model numbers identify the number of horizontal line wires, fence height, vertical stay spacing and roll length. Match the installed height to the livestock application before choosing post length and container quantities.
| Field fence model | Installed fence height | Line wires | Common application |
|---|---|---|---|
| 726-6-330 field fence | 26 in | 7 | Lower farm boundaries and small livestock enclosures |
| 832-6-330 sheep and goat fence | 32 in | 8 | Sheep, goat and pasture subdivisions |
| 939-6-330 livestock field fence | 39 in | 9 | General livestock and mixed farm fencing |
| 1047-6-330 hinge joint field fence | 47 in | 10 | Cattle, ranch boundaries and larger pasture projects |
All four reference models use 6 in vertical stay spacing and a 330 ft roll. Check the complete hinge joint fence sizes and 1047/6 specification guide, then request a matching package of mesh rolls, high-tensile fence supplies, T posts and clips.
7. For Distributors: Sell the Complete Package
Build each package from the approved layout: mesh rolls, line posts, clips, brace materials and any additional strands. KUNYU can discuss mixed orders of fence, T posts, barbed wire and clips. Confirm the model-level quantities and measured packing basis with the container loading guide.
8. FAQ About Field Fence Installation
How do you install field fence?
Plan the line, complete the end and corner bracing, install posts to the approved layout, unroll and attach the mesh, tension to the selected model's instructions, then secure and inspect the fence.
How tight should field fence be?
Use the selected fence model's tensioning instructions. Wire grade and construction differ; there is no universal tension or crimp-reduction percentage for every field fence.
What tools are needed?
Suitable post-setting tools, a compatible fence stretcher, rated tensioning equipment and anchor arrangement, fencing pliers, cutters, a guide line and protective equipment. Confirm the tools against the product and equipment instructions.
Which side of the posts does the fence go on?
Livestock mesh is commonly placed on the animal side so pressure bears against the posts. Confirm the side and fastening details for the approved installation.
How do you handle hills and dips?
Have the installer specify support, clearance and any hold-down details at changes in slope. Do not rely on uniform spacing alone across uneven ground.
How many T posts do I need for a 330 ft roll of field fence?
For one straight 330 ft run, an 8 ft maximum spacing gives 43 support positions, 10 ft gives 34, and 12 ft gives 29, including endpoints. These are support positions, not all line T posts. Separate braced assemblies and shared endpoints before ordering.
What does 1047/6 field fence mean?
1047/6 identifies a 10-line-wire, 47 in field fence with 6 in vertical stay spacing. The full 1047-6-330 model specifies a 330 ft roll.
Related Installation and Post Guides
- T-post spacing for field fence — choose spacing by hinge joint, fixed knot or barbed wire.
- Woven and welded wire post spacing — post-length and quantity formulas.
- U post vs T post — choose the correct steel post profile for the fence load.
- Wholesale steel T posts — 5–10 ft posts, finishes, packing and OEM supply.
Order Field Fence with Posts and Accessories
KUNYU FENCING supplies hinge joint fence, fixed knot fence, steel T posts, wire clips and barbed wire from one factory, with quantities matched to your approved bill of materials. Send your fence spec, quantities and destination port for an FOB / CIF quotation.