1. Confirm the Boundary and Purpose
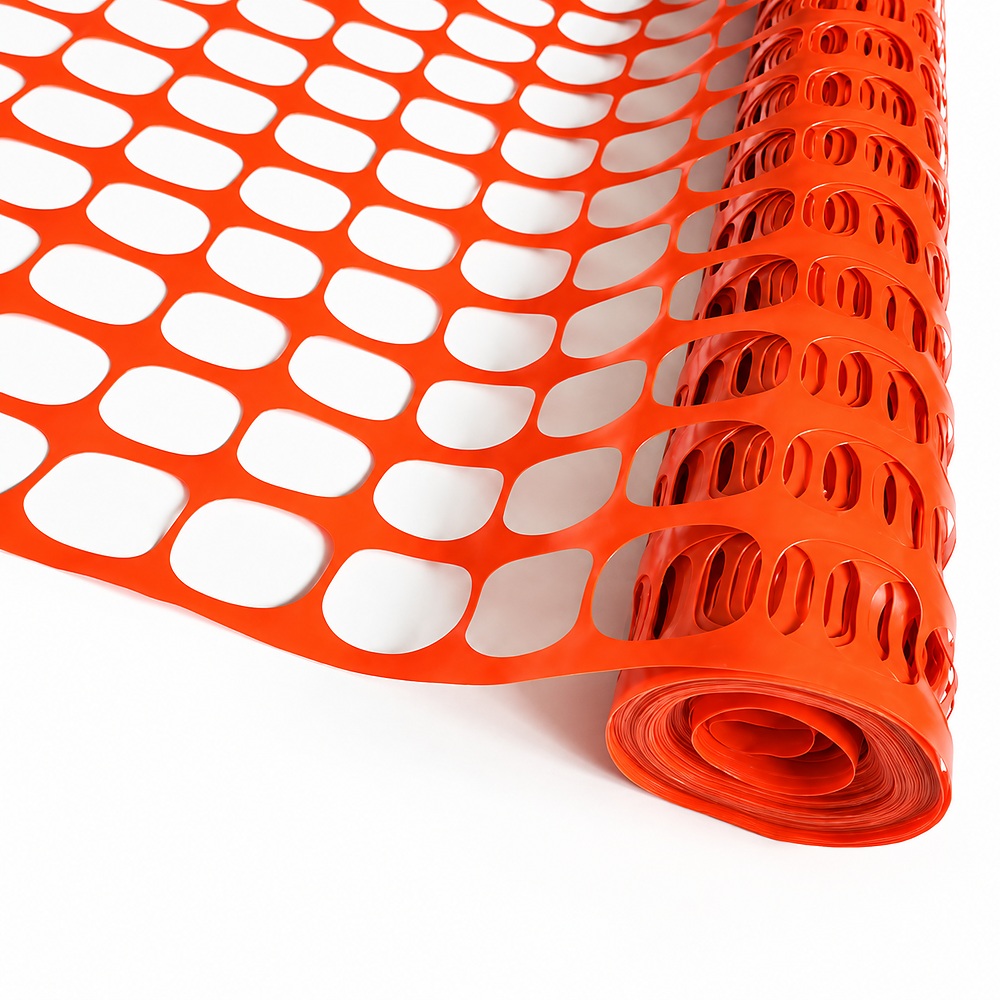
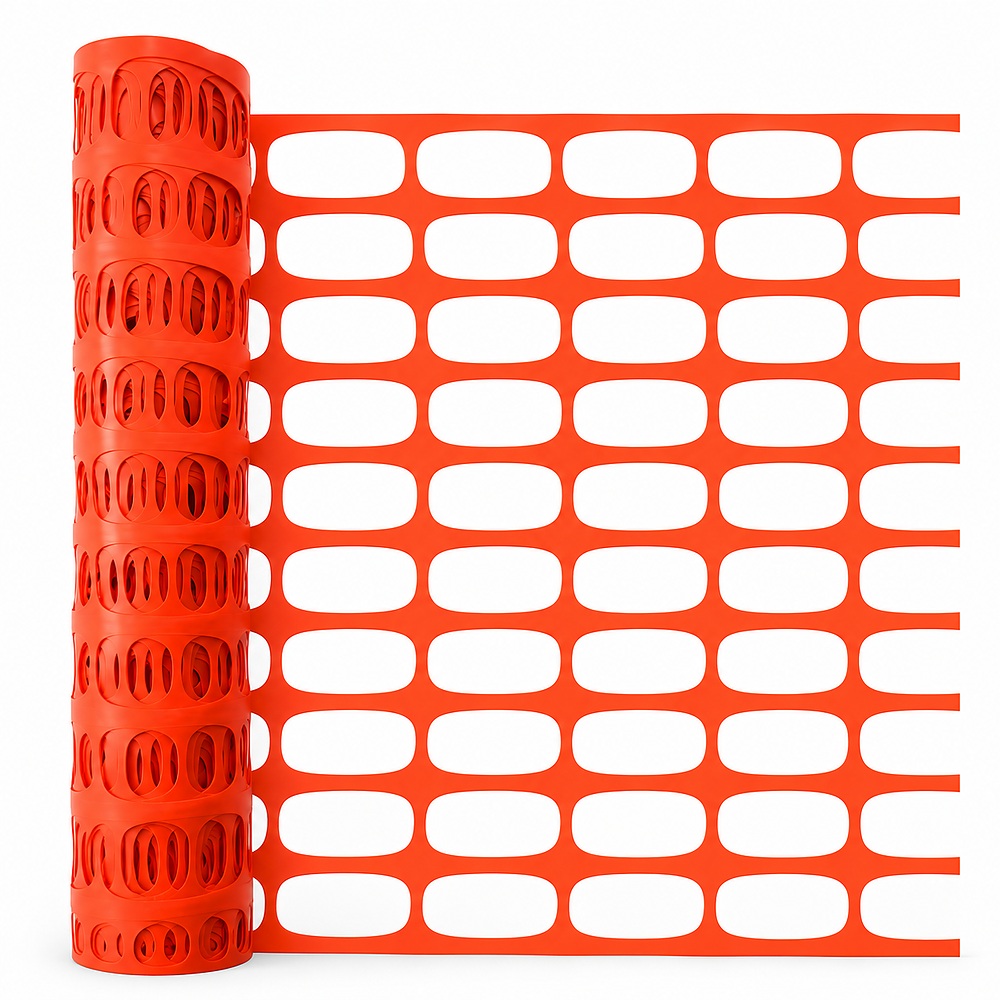
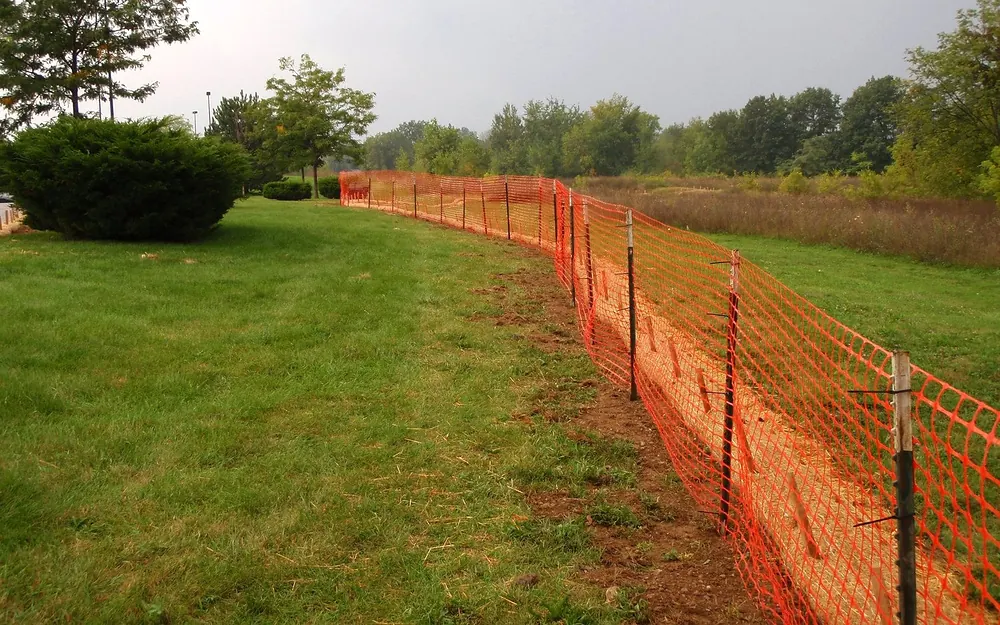
Orange safety fence creates a visible temporary boundary for construction, landscaping, maintenance and event setup. Mark the fence line, corners and entrances before ordering materials. Check for underground services before driving posts and keep emergency routes clear. Flexible warning mesh is not a fall-protection system, vehicle restraint or secure enclosure.
Prepare a tape measure, line markers, suitable post-driving tools, cutters, compatible ties and task-appropriate gloves and eye protection. Record the mesh height, roll length, opening and g/m²; decide the support layout from the ground conditions, exposure and site requirements.
2. Choose Posts, Stakes and Fixings
Choose the attachment method for the supporting structure. A tie around a narrow strand, a staple into timber and a fixing to a rigid panel distribute load differently.
| Support | Attachment approach | What to check |
|---|---|---|
| Independent posts or stakes | Secure the mesh progressively along the approved post layout with compatible ties. | Post stability, end/corner support, fixing distribution and protection from sharp edges. |
| Existing rigid metal panels | Cut the mesh to the panel and fasten it to the supporting grid. | The panel is already secure; tie edges cannot cut mesh strands. |
| Timber frame | Fix along sound timber using an approved fastening or clamping detail. | Fasteners hold the mesh without splitting strands or pulling through. |
Tenax’s BEACON PLUS instructions distinguish these three mounting arrangements. For that product, they show ties every 30 cm on metal panels and nails/staples every 20–30 cm on timber. These are product-specific attachment examples, not post-spacing rules or KUNYU installation ratings. Use the fixing schedule approved for your mesh and support system.
For a combined order, the mesh-and-stakes enquiry lists rolls, posts and fixings as separate components.
3. Set and Check the Supports
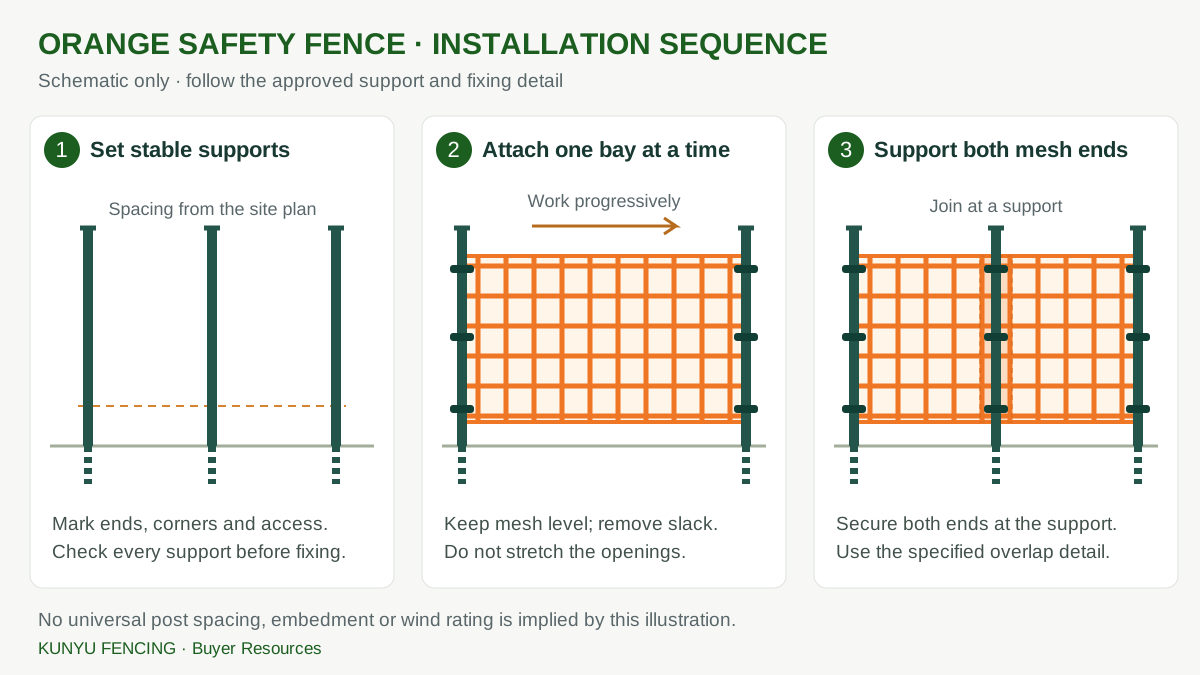
Set the end and corner positions first, then mark the intermediate supports and access openings. Install each support to the agreed depth and alignment. Protect exposed sharp ends where specified, and correct loose or leaning posts before attaching mesh. The mesh must not be used to stabilize a loose post.
4. Unroll and Attach the Orange Mesh
- Fix the starting edge. Hold the roll at the specified height and clearance. Secure the first edge to its support without crushing the strands.
- Unroll one bay at a time. Keep the bottom edge aligned and the roll clear of sharp objects. Avoid twisting the mesh around a post.
- Distribute the fixings. Use the agreed attachment positions along the supported edge. Route ties so the mesh cannot slide down and the tie does not load one thin strand unnecessarily.
- Remove slack gently. Keep openings in their normal shape. Stop if strands stretch, whiten or split; plastic warning mesh is not tensioned like high-tensile livestock wire.
- Check before continuing. Inspect the fixing points and post stability at each bay. Trim fixing tails so they do not leave sharp projections.
5. Finish Corners, Joins and Access Points
Plan a roll join at a support where the approved layout permits. Secure both mesh ends to that support using the specified overlap or clamping detail; do not leave the connection hanging between posts. At corners, check the post’s stability and the mesh contact edge before continuing in the new direction.
Keep the planned entrance clear. Finish cut edges and tie tails, and use a designed gate or barrier when access control is required. Record overlap and cutting allowances because roll length is greater than the final usable run when material is consumed at joins.
6. Inspect, Maintain and Store the Fence
Walk the complete boundary before use and after weather or work that may disturb it. Inspect the supports as well as the mesh.
| Finding | Corrective action |
|---|---|
| Loose post or sagging bay | Correct the support or fixing arrangement before reattaching; do not simply pull the mesh harder. |
| Split strand, cut fixing point or brittle mesh | Replace the damaged section and review the contact or attachment that caused the damage. |
| Unsupported join or blocked entrance | Re-secure the join and restore the approved access arrangement. |
| Removal for reuse | Release fixings without tearing the mesh; clean, dry and roll suitable material without sharp folds or crushing loads. |
7. Calculate Rolls, Posts and Fixings
A 4 ft × 100 ft roll is 1.2192 m high × 30.48 m long, with 37.16 m² of gross mesh area. The height is not 1.2 m exactly. State the controlling units on the order.
Worked take-off: one open, straight 100 m run; 30.48 m rolls; three planned joins using 0.20 m each; 2 m total cutting allowance. For counting only, assume the site plan has already selected 2.50 m bays and three ties per post. These assumptions are not installation recommendations.
| Item | Calculation | Quantity |
|---|---|---|
| Mesh required | 100 + (3 × 0.20) + 2 | 102.60 m |
| Rolls | 102.60 ÷ 30.48 = 3.37; round up | 4 rolls |
| Gross mesh supplied | 4 × 30.48 | 121.92 m |
| Posts, including both ends | ceil(100 ÷ 2.50) + 1 | 41 posts |
| Base tie count | 41 × 3 | 123 ties, before extra join fixings and spares |
For other layouts, calculate each straight run separately and count shared corners once. Add gate supports, changes of direction and any extra join fixings from the approved layout. Check that planned joins actually coincide with supports; cuts made to align them can increase waste.
Send quantities by component, mesh specification, support details, packing and destination. Compare standard and heavy duty mesh by structure and g/m². For drifting snow, use the separate snow fence guide, which addresses placement and snow-storage space.
Printable site check sheet (PDF) · Download specification and RFQ worksheet (CSV). Measured weights and packing quantities are confirmed per order.
Questions and answers
How far apart should orange safety fence posts be?
Use the spacing selected for the mesh, supports, ground and exposure. The example on this page assumes an approved layout for counting quantities; it does not set a universal post-spacing rule.
How do I join two rolls?
Plan the join at a support where the approved layout permits, and secure both ends using the specified overlap or fixing detail. Include material consumed at joins in the take-off.
Should I pull orange plastic mesh tight?
Remove slack gently while keeping openings in their normal shape. Stop if strands stretch, whiten or split, and check the fixing method and support stability.
Can I use the same layout for snow fence?
Snow-management layouts also depend on wind and drift-storage space. Use the separate snow fence selection and installation guide for that application.