Woven wire field fence — whether hinge joint or fixed knot — is installed the same basic way. What changes with the wire grade is post spacing and how much tension the fence takes.
1. Tools and Materials Checklist
| Category | Items |
|---|---|
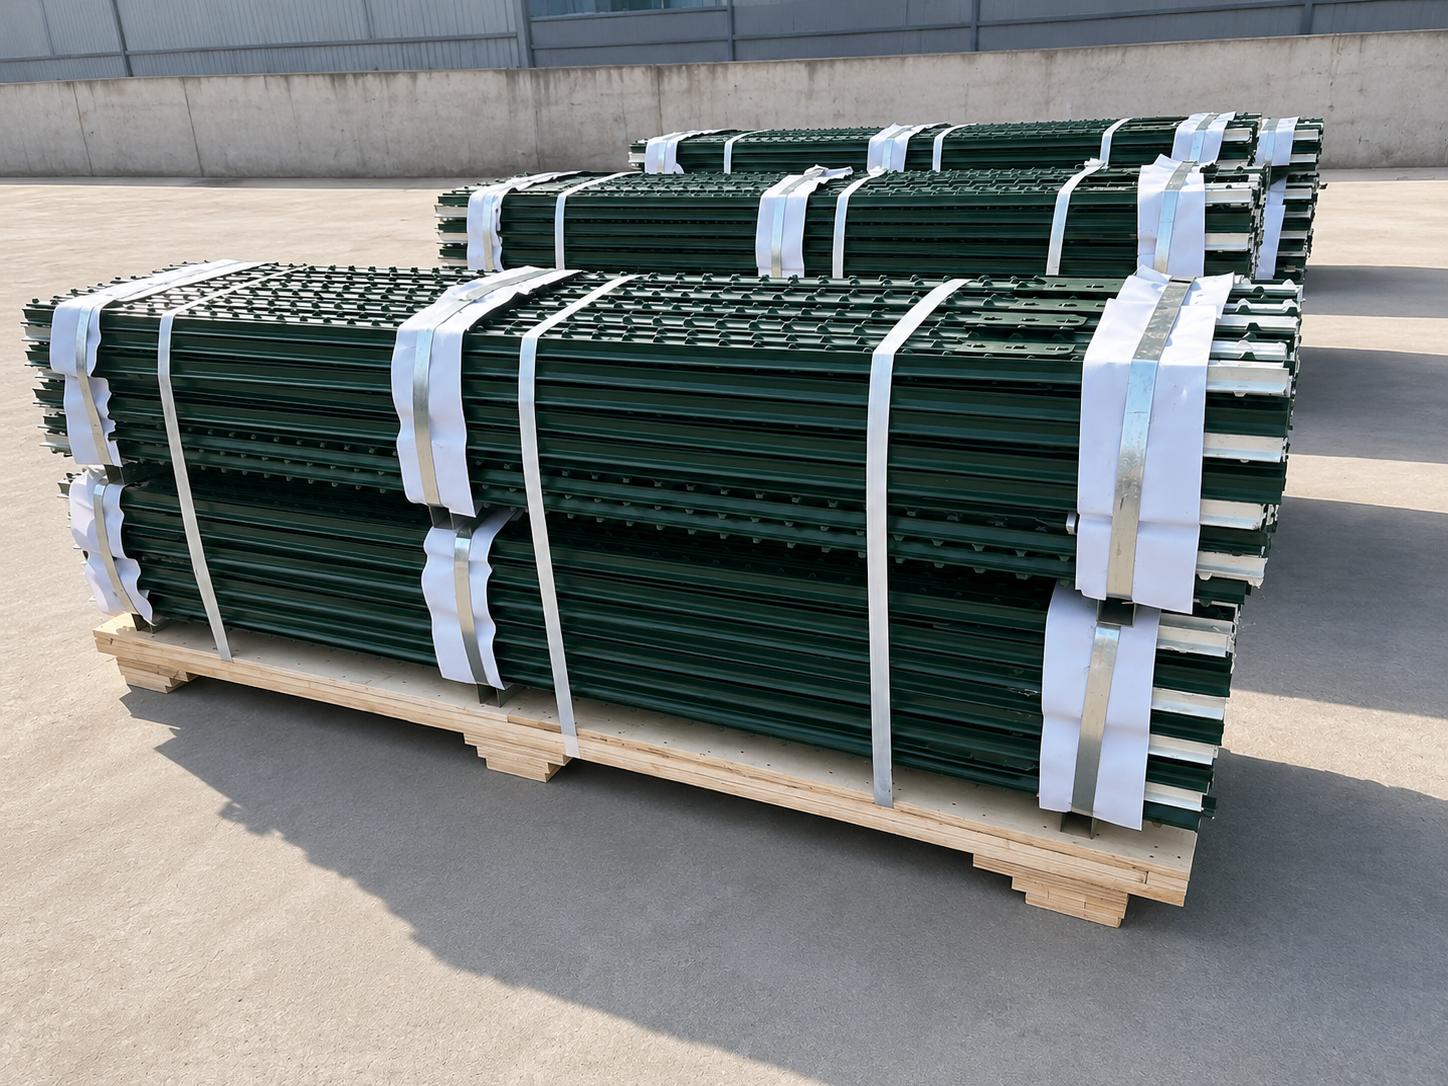
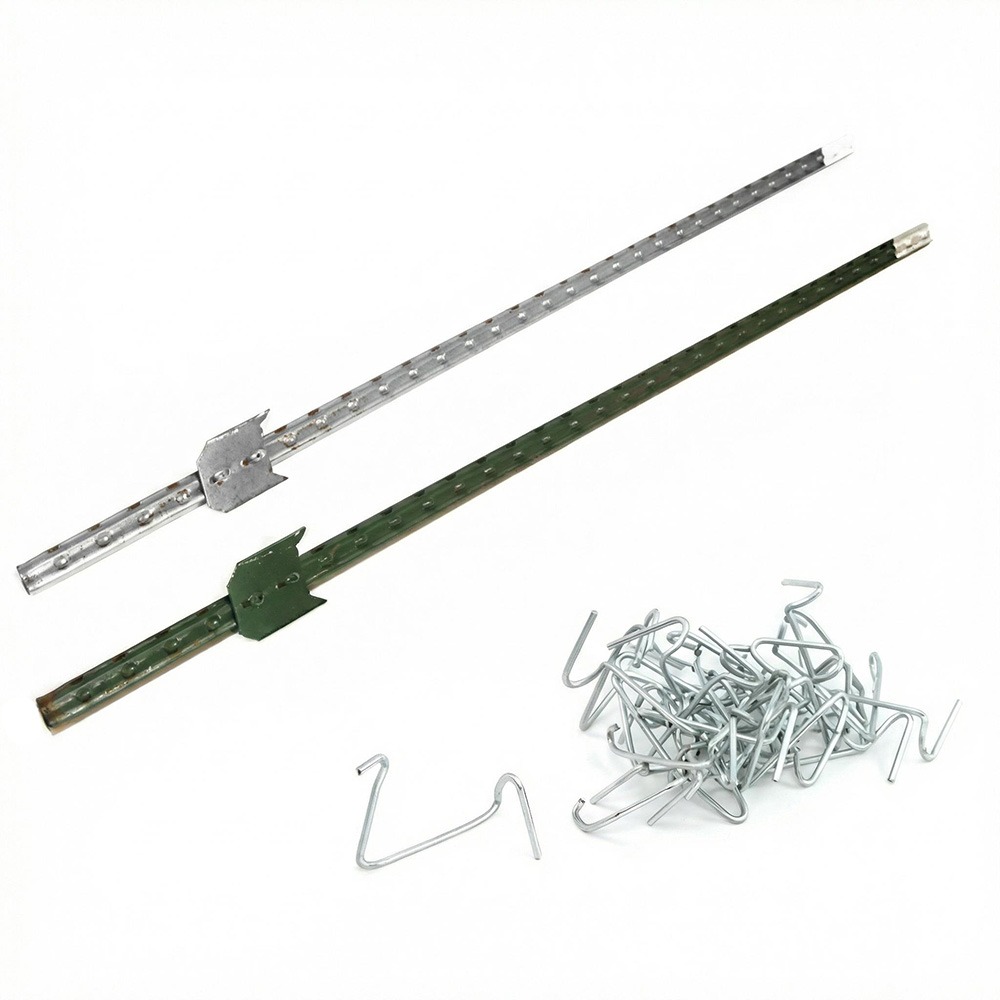
| Fence materials | Field fence rolls, steel T posts, wire clips, wood or pipe corner posts, brace wire or brace rails, staples, optional barbed wire top strand |
| Setting tools | Post driver (manual/hydraulic), post hole digger or auger for corners, tamper |
| Stretching tools | Fence stretcher bar, come-along or ratchet stretcher, chain, tractor or truck anchor point |
| Hand tools | Fencing pliers, clip tool, wire cutters, tape measure, string line, level, gloves, eye protection |
Material quantities: one 330 ft roll needs about 33 T posts at 10 ft spacing plus a bag of clips — full math in the post spacing guide.
2. Field Fence Post Installation: Spacing and Posts per 330 ft Roll
For standard field fence post installation, start with 8–12 ft between steel T posts, then reduce spacing where cattle pressure, slopes or soft ground demand more support. Count braced corner, end and gate assemblies separately; line-post quantities below are planning allowances, not a substitute for a site-specific layout.
| Fence application | Typical T-post spacing | Approx. line posts per 330 ft roll | Typical post choice |
|---|---|---|---|
| Heavy cattle pressure or uneven ground | 8 ft | 42 | 6 ft green steel T post |
| General field and pasture fence | 10 ft | 34 | Studded steel fence T post |
| Lower-pressure woven-wire boundaries | 12 ft | 29 | Wholesale T-post size range |
| High-tensile fixed knot on suitable flat terrain | 15–16.5 ft | 21–23 | 8 ft bulk steel T post |
Quantity formula: divide 330 ft by the chosen spacing, round up, then add one end position when preparing a standalone planning allowance. Final quantities change with corners, gates, direction changes and whether adjacent runs share posts. For one mile, calculate from 5,280 ft instead of 330 ft. Compare the complete woven-wire fence T-post spacing guide before quoting a mixed container.
3. Step-by-Step Field Fence Installation
Step 1 — Plan and mark the line. Walk the fence line, mark corners, ends, gates and direction changes. Straight runs stretch best; every direction change needs a braced post.
Step 2 — Set corner, end and gate posts. Use treated wood (4–6″ diameter) or steel pipe, set 3–4 ft deep in firm or concreted ground. These posts carry the entire stretching tension — several hundred kilograms with high tensile wire.
Step 3 — Build brace assemblies. At every corner and end, build an H-brace (two posts, a horizontal rail and diagonal brace wire twisted tight) or a diagonal brace. An unbraced corner will lean within a season and slacken the whole fence.
Step 4 — Stretch a guide wire. Run a single smooth wire or string between braced posts, at ground level or top-of-post height, to keep the line straight for post driving.
Step 5 — Drive T posts. Space 8–12 ft for standard hinge joint, up to 15–20 ft for fixed knot high tensile. Drive until the spade anchor plate is fully buried, studs facing the animal side. Add a post at the bottom of every dip and top of every rise.
Step 6 — Unroll the fence. Stand the roll at one braced end and unroll along the line on the animal side of the posts. Keep the bottom wire at consistent ground height.
Step 7 — Attach and stretch. Wrap and tie the fence to the first braced post (wrap each horizontal wire around the post and back on itself, or use a stretcher bar). At the far end, clamp a stretcher bar across the full fence height and pull with a come-along anchored to the opposite brace or a vehicle. Tension until the factory crimps in the line wires reduce by one third to one half — never flat.
Step 8 — Clip and finish. Holding tension, fix the fence to each T post with wire clips: always the top and bottom wires, plus every second or third wire between. Tie off the stretched end around the brace post, cut the surplus, and add the barbed top strand if the design includes one.
4. The Five Most Common Installation Mistakes
- Stretching before bracing — the corner leans and the fence goes slack permanently
- Over-tensioning — flattened crimps remove the fence's spring reserve and stress the knots
- Fence on the wrong side of posts — animal pressure pops the clips instead of loading the posts
- Ignoring dips and rises — the bottom wire bridges over dips, leaving escape gaps
- Anchor plates above ground — under-driven T posts loosen within months
5. Hinge Joint vs Fixed Knot: Installation Differences
| Item | Hinge Joint | Fixed Knot (High Tensile) |
|---|---|---|
| Post spacing | 8–12 ft | 15–20 ft on flat ground |
| Stretching force | Moderate | Higher — stronger braces required |
| Handling | Flexible, forgiving on uneven ground | Stiffer mesh, holds shape during stretch |
| Labor per mile | More posts to drive and clip | 30–50% fewer posts — faster overall |
Choosing between the two? See fixed knot vs hinge joint fence and the size selection guide.
6. Choose the Right Field Fence Model Before Installation
North American hinge-joint model numbers identify the number of horizontal line wires, fence height, vertical stay spacing and roll length. Match the installed height to the livestock application before choosing post length and container quantities.
| Field fence model | Installed fence height | Line wires | Common application |
|---|---|---|---|
| 726-6-330 field fence | 26 in | 7 | Lower farm boundaries and small livestock enclosures |
| 832-6-330 sheep and goat fence | 32 in | 8 | Sheep, goat and pasture subdivisions |
| 939-6-330 livestock field fence | 39 in | 9 | General livestock and mixed farm fencing |
| 1047-6-330 hinge joint field fence | 47 in | 10 | Cattle, ranch boundaries and larger pasture projects |
All four reference models use 6 in vertical stay spacing and a 330 ft roll. Check the complete hinge joint fence sizes and 1047/6 specification guide, then request a matching package of mesh rolls, high-tensile fence supplies, T posts and clips.
7. For Distributors: Sell the Complete Package
Every install consumes a predictable basket: fence rolls, T posts, clips, brace materials and often a barbed top strand. Farm stores that shelf these together sell more of all of them. As a manufacturer, KUNYU FENCING ships mixed containers matched to these ratios — fence, T posts, barbed wire and clips in one shipment. See the container loading guide for quantities.
8. FAQ About Field Fence Installation
1. How do you install field fence?
Plan the line, brace corners first, stretch a guide wire, drive T posts, unroll on the animal side, fix one end, stretch to tension, clip to every post.
2. How tight should field fence be?
Tension until the wire crimps reduce by one third to one half. Never stretch the crimps flat — they are the fence's built-in spring.
3. What tools are needed?
Post driver, fence stretcher bar with come-along, fencing pliers, clip tool, wire cutters, guide line and gloves; auger for wood corners.
4. Which side of the posts does the fence go on?
The animal side, so pressure loads the posts rather than the clips.
5. How do you handle hills and dips?
Add a post at the bottom of each dip and top of each rise; anchor the fence bottom in sharp dips to resist uplift.
6. How many T posts do I need for a 330 ft roll of field fence?
Allow about 42 post positions at 8 ft spacing, 34 at 10 ft spacing, or 29 at 12 ft spacing. Count corner, gate and brace assemblies separately and adjust for shared end positions.
7. What does 1047/6 field fence mean?
1047/6 identifies a 10-line-wire, 47 in field fence with 6 in vertical stay spacing. The full 1047-6-330 model specifies a 330 ft roll.
Related Installation and Post Guides
- T-post spacing for field fence — choose spacing by hinge joint, fixed knot or barbed wire.
- Woven and welded wire post spacing — post-length and quantity formulas.
- U post vs T post — choose the correct steel post profile for the fence load.
- Wholesale steel T posts — 5–10 ft posts, finishes, packing and OEM supply.
Order Field Fence with Posts and Accessories
KUNYU FENCING supplies hinge joint fence, fixed knot fence, steel T posts, wire clips and barbed wire from one factory, packed in installation-ready ratios. Send your fence spec, quantities and destination port for an FOB / CIF quotation.