
1. Confirm the roll and site inputs
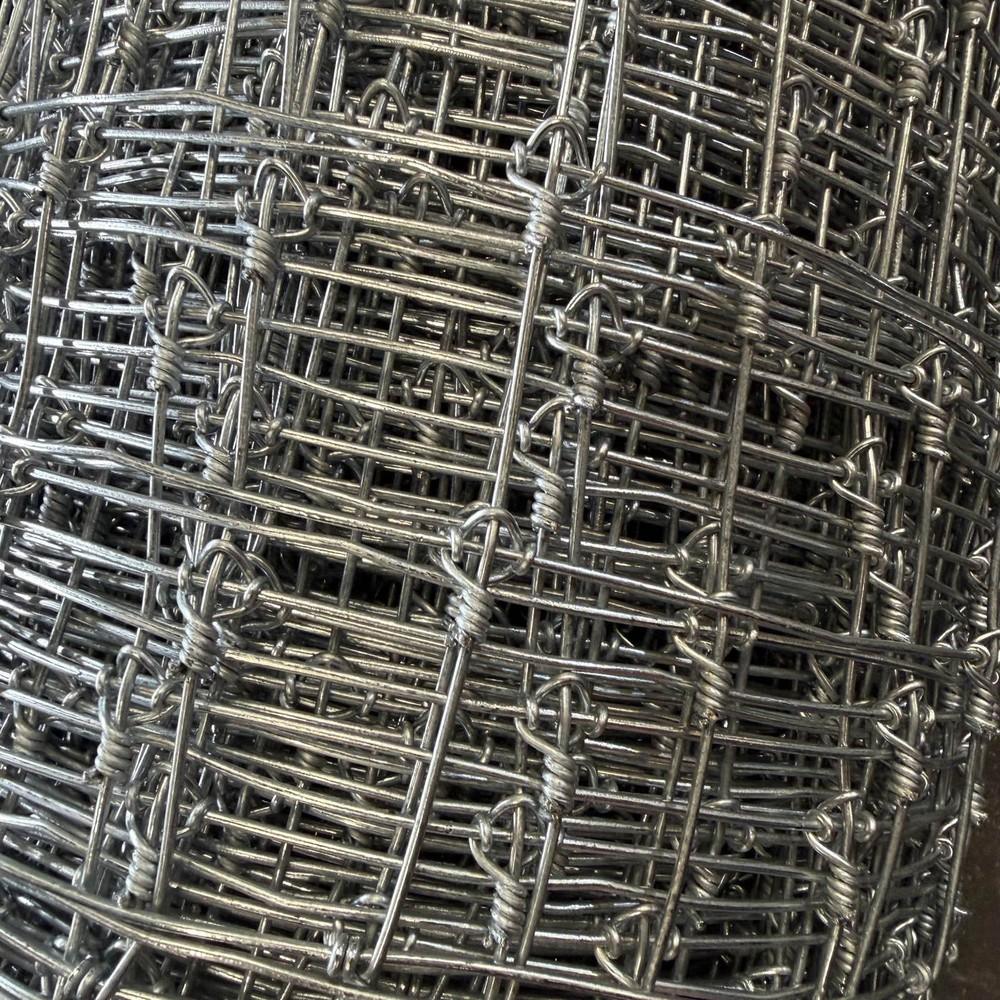
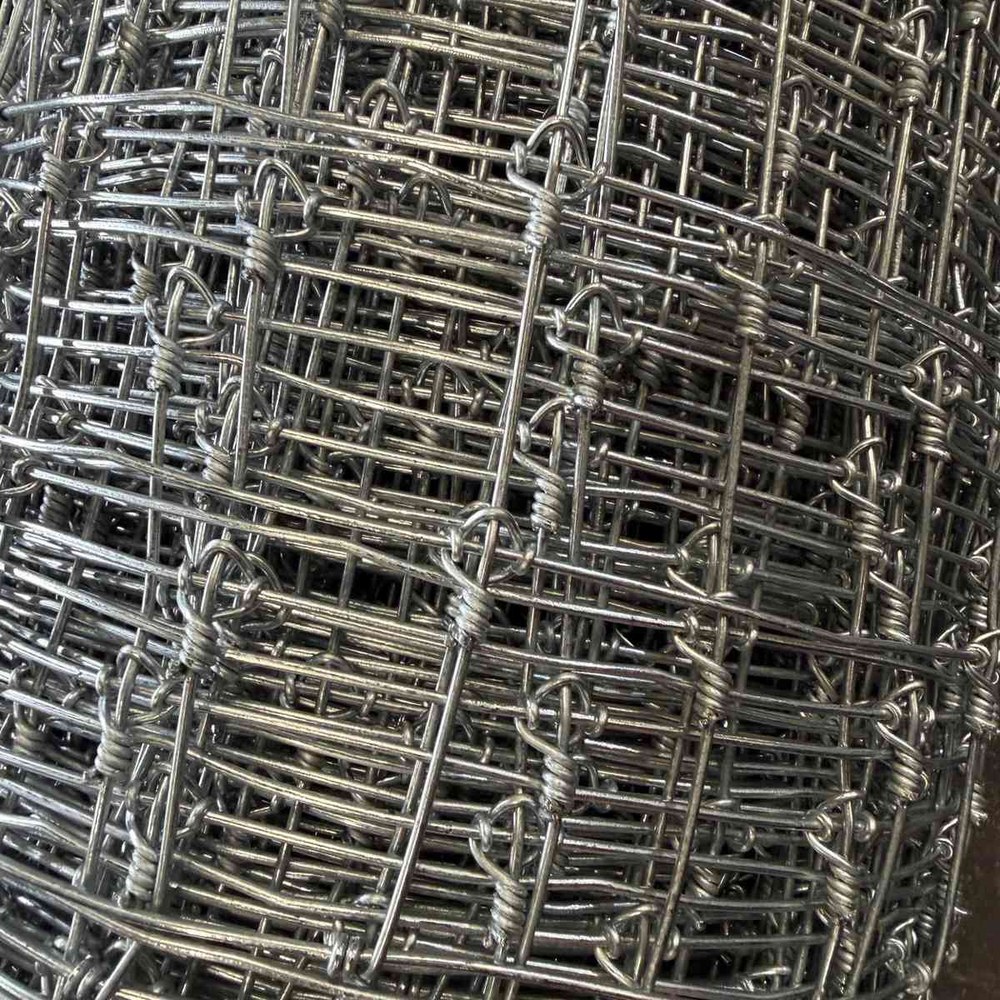
Request KUNYU's 72 in made-to-order fixed-knot drawing, line count, vertical openings, stay spacing, wire diameters, tensile and coating requirements, roll length and handling instructions. KUNYU publishes a 61 in / 1661-6-330 fixed-knot model and a 96 in / 2096-6-330 deer model; neither is 72 in. KUNYU manufactures the 72 in configuration to the agreed drawing, mesh and quantity. Do not substitute a published 61 in or 96 in roll.
2. Build the load path first
Survey the fence line, gate openings, property boundary and utilities. Mark grade changes and corners, then design end and corner braces to resist the planned tension and site loads. The University of Georgia Extension fencing guide covers brace arrangements and installation principles. Choose post sizes, embedment and line spacing for soil, terrain and the approved fence; a general spacing number is not an engineering approval.
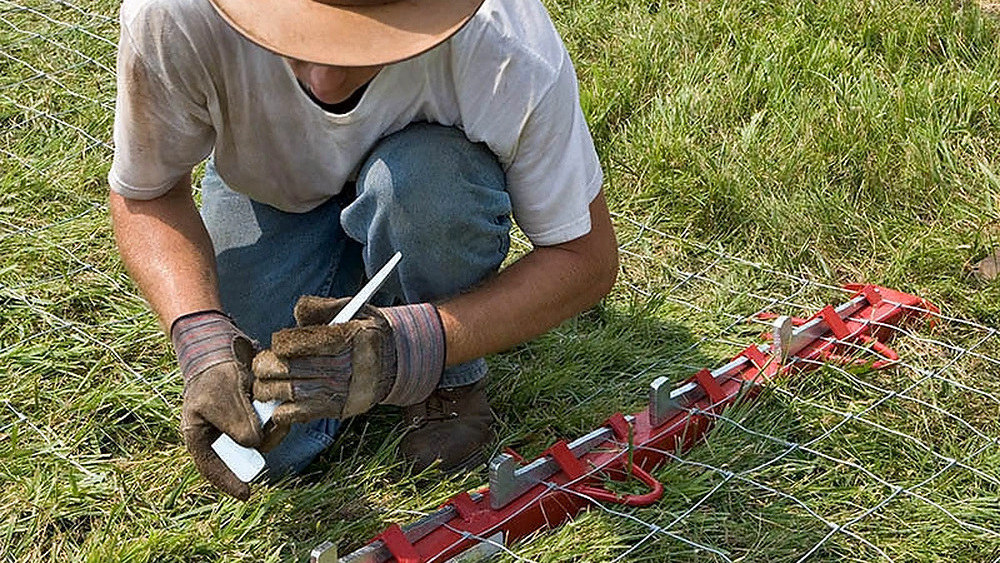
3. Stretch and fasten one braced run at a time
Unroll on the correct side of the posts and keep the mesh upright. Use a full-height stretcher bar or clamp that grips multiple line wires evenly, tension toward a braced end with rated equipment, and watch the knot layout for distortion. Attach the end securely, then fasten line posts in the method specified for the chosen post and wire system. Keep hands clear of tensioned wire and follow the equipment maker's instructions. Our stretching guide isolates that operation.
4. Check the finished boundary
Walk both sides to check gates, top and bottom continuity, level transitions, secure ends, damaged coating and loose clips. Record the installed model and drawing revision for maintenance. The existing field-fence installation guide covers broader tools and steps; this page focuses on the 6 ft fixed-knot specification and braced-run sequence.
 Woven Wire Fence
 61 in Fixed Knot
 Steel T Posts